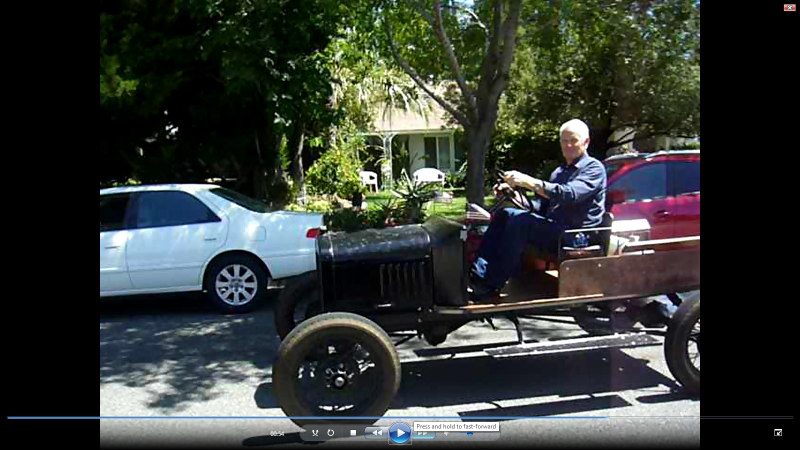
Back in 1951 my dad had a couple of non-running Model T’s, discarded $25 work cars. I was 12-years old and found Dad’s 1926 Edition of “The Model T Ford Car” by Page. From that book I learned the four-stroke cycle along with an interest in Model T’s which I thought was an engineering marvel. I was able to get one of the cars running and learned to drive it. Sixty-six years later after a career as a corporate pilot, five front-engine dragsters and several Chevy V-8 conversions, in January of this year, I bought a 1918 chassis with a running engine as a means of going back in memory to my younger years. The past ten months have been a lot of fun. It is currently registered, licensed, and insured.
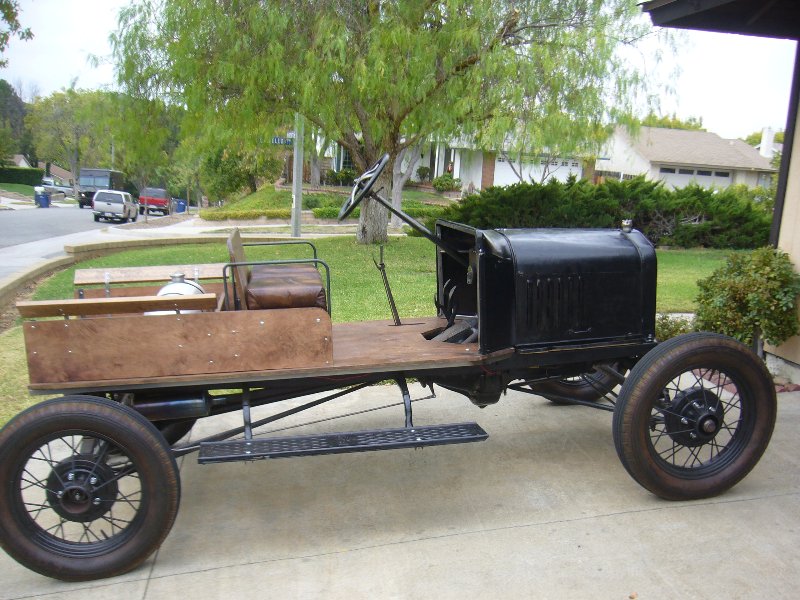
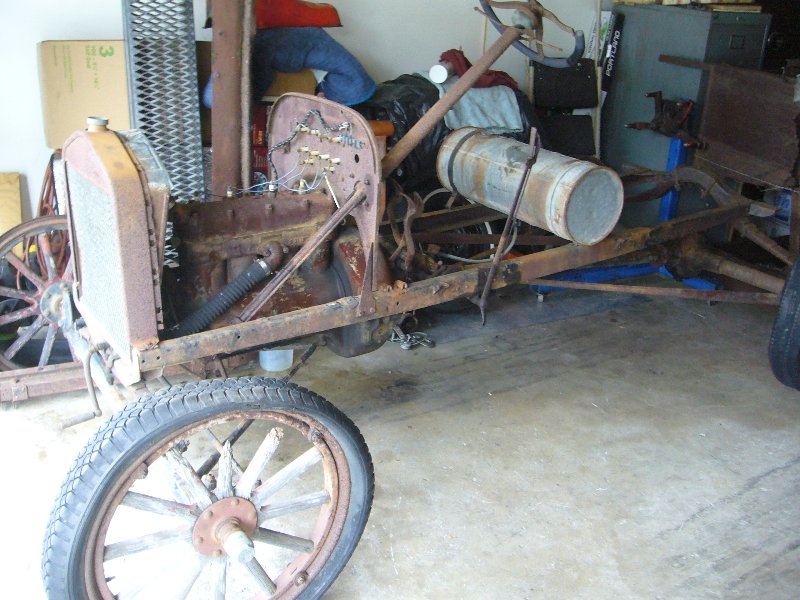
The first project was to discard the broken wooden-spoke wheels and replace with 19" Model A wire wheels with NOS tires. 5" X 5-1/2" adaptors from Ebay were mated to the wooden inner hubs by redrilling five holes. This arrangement only added 1/4" to the original Model T treadwidth.
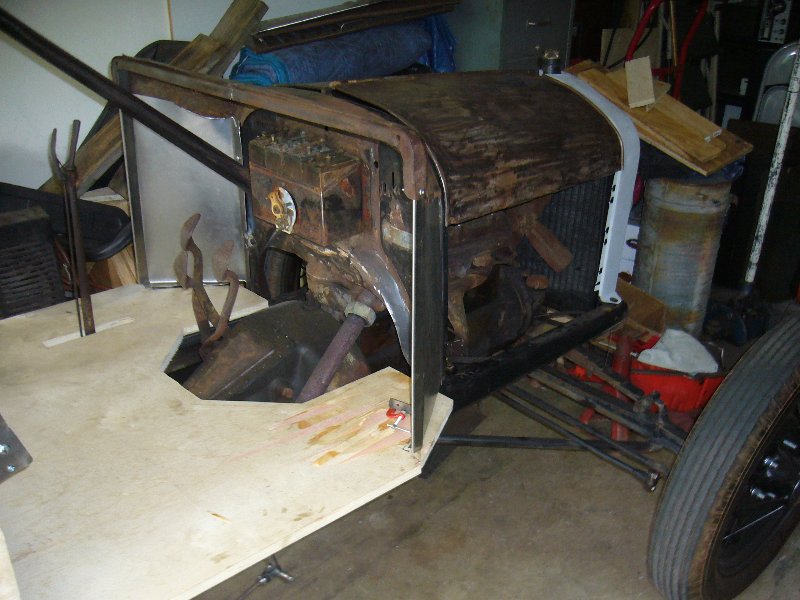
The frame was roughly cleaned and painted with Rustoleum Satin Black. After replacing all three transmission bands, the car was somewhat driveable around the block, with the engine smoking badly and radiator leaking. A subframe of 1" box tubing was built, onto which a simple plywood pickup-style body and seat were attached, the engine body being bolted thru the original body attach angles. No welding or drilling was done on the original frame in case I ever find a good body. A '23 Cowl was narrowed 3" and fitted to the firewall with sheetmetal side pieces.
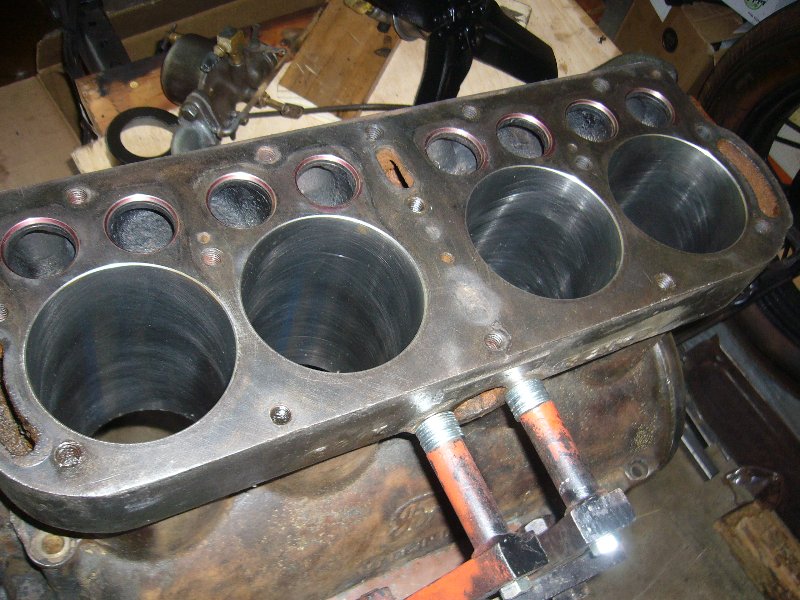
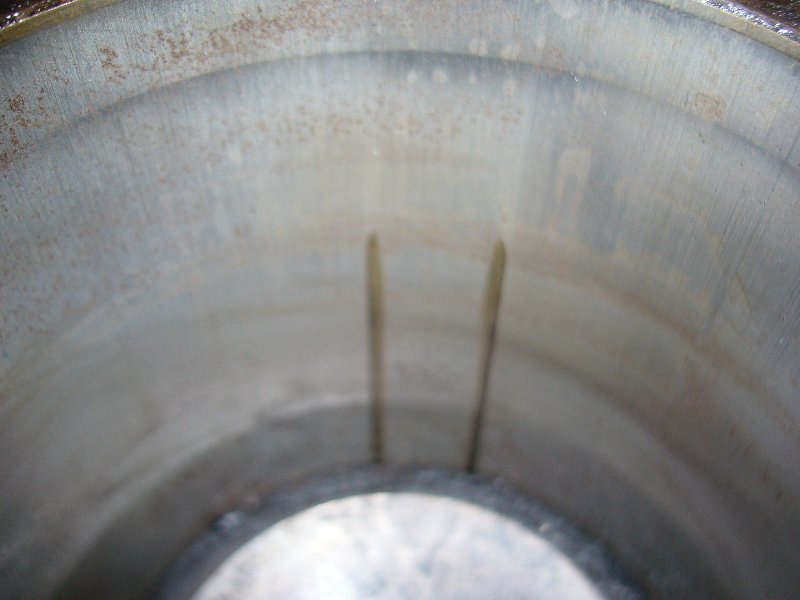
The engine was pulled, mounted on an engine stand with an angle-iron adaptor, and torn down. The front cylinder had two deep score marks from a previous loose piston pin moving forward. The valve guides were severely worn. The block was bored .020 for aluminum pistons to run with .006 skirt clearance. The boring bar was moved forward on No. 1 cylinder by .005 to completely remove the score and the bores cleaned up with a Sunnen Hone. An engine shop rebored the valve guide bosses to accept oversize new valves. The crank had a .004 bow measured at the center main, so four hits with a 1" wide chisel and a 4# hammer (on the low side) straightened it up perfectly. Because the center main bearing was .004 smaller diameter than No. 1 and No. 3, TimeSaver No. 60-Grit was used to lower the crank into the block .002 enabling setting of all Main Bearing Caps to .0025 clearance. Using TimeSaver, checking the babbitt with Prussian Blue showed a full 100% mating surface. Crankshaft end-play was too much at .017, so ordinary 40/60 radio solder was added to the forward edge of the Rear Main Cap using a 300-watt soldering gun, then hand filed down to achieve .006 end-play of the crank. There is no starter or generator, so it is started on a small 12-Vdc battery, then switched to MAG.
The transmission was disassembled to find it in nice condition and reassembled with a new Clutch Spring from Langs. Standing the engine on its nose and setting the transmission onto the crank flange and bolting it together several times, the magneto gap was set to .025, using no shims.
The oil pan and hogshead were installed using Toyota Black sealer. The hogshead felt around the back of the block was coated on both sides and the excess length folded under on both sides. Am happy to report not a single leak on the pan or hogshead, the only leak is a minor one at the U-Joint area.
A complete rear end was obtained to replace the original which had a bad pinion bearing. It sounded bad, so felt fortunate to find a 1915 rear removed from another car to make way for a Ruckstell. Very soon I hope to disassemble this rear end to check it all out.
At a swapmeet, a 2-row radiator was purchased, but found that the fins were not soldered to the tubes. A new '65 Mustang 3-row aluminum radiator from Ebay was purchased and the top tank modified by a shop in Northridge, CA. No water pump on this car, it runs cool enough, measuring 194-deg F at the top tank and 110-deg F at the bottom tank on a warm day.
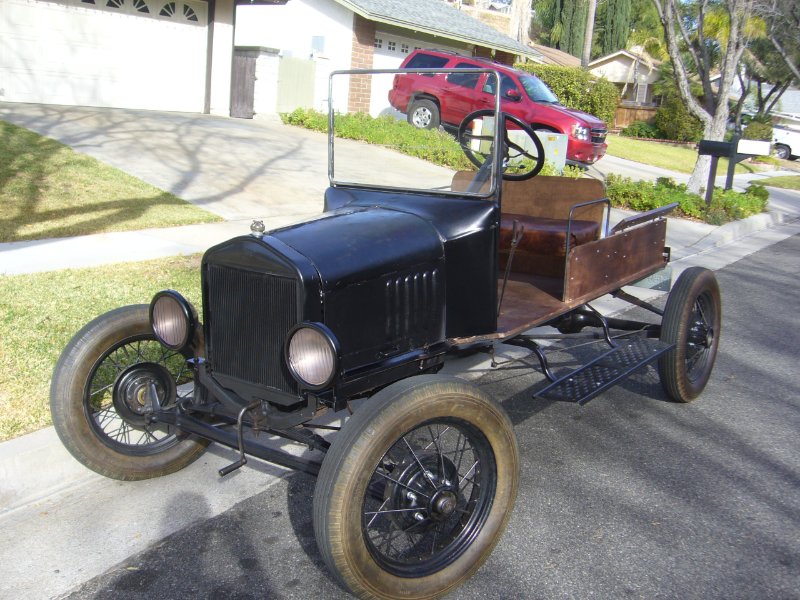
Its been a lot of work, but well worth it. There is lots more that can be done, but it is fun to drive around the neighborhood. It is not restored, the engine and transmission were not overhauled, but it runs and drives fairly well. The enjoyment of 66-years ago is back and that is what I wanted.
Dave Hoisington
Saugus, CA